How Roof Flashing Protects Your Home From Leaks
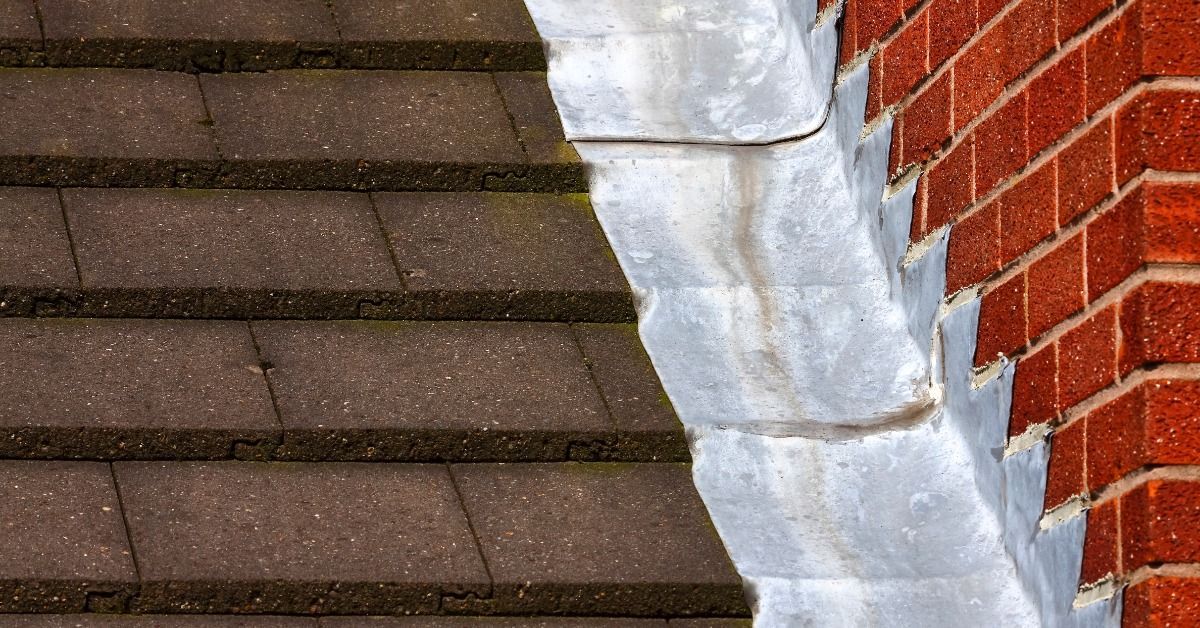
Your roof relies on more than shingles to keep rain outside. Wherever a roof meets a chimney, wall, or other opening, water can find a path beneath the surface. Flashing closes these vulnerable transitions and guides moisture toward the drainage system. Understanding how roof flashing protects your home from leaks helps you recognize potential trouble before a small opening becomes expensive interior damage. Proper installation matters because even durable roofing materials cannot compensate for poorly sealed connections.
What Is Roof Flashing?
Roof flashing consists of thin, water resistant materials that roofers install around joints and transitions. Metal flashing commonly uses aluminum or galvanized steel, although the appropriate material depends on the roofing system. Each piece directs water away from places where shingles alone cannot provide dependable coverage.
Flashing works as part of a complete roof assembly rather than an isolated barrier. Shingles shed most rainfall across the roof surface, while flashing manages water around interruptions. Underlayment provides another layer of protection beneath the visible materials. When contractors position these components correctly, water follows a controlled route off the roof.
Why Roof Transitions Need Extra Protection
A broad, uninterrupted roof slope sheds water relatively easily. Problems arise where different surfaces meet because wind-driven rain can move sideways or upward beneath exposed edges. Snow accumulation can also hold moisture against these connections during winter weather.
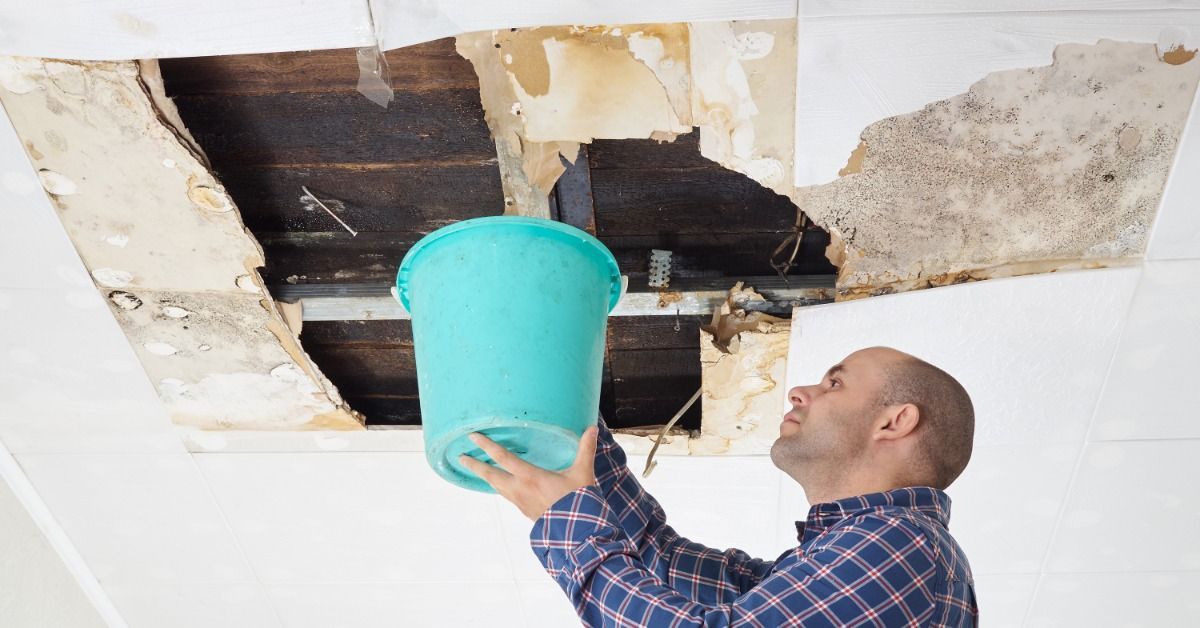
Without effective flashing, water may enter small gaps near roof penetrations. Moisture can then travel along framing before it appears on a ceiling. This movement makes leaks difficult to trace because the visible stain may sit far from the original opening.
How Flashing Protects Chimneys
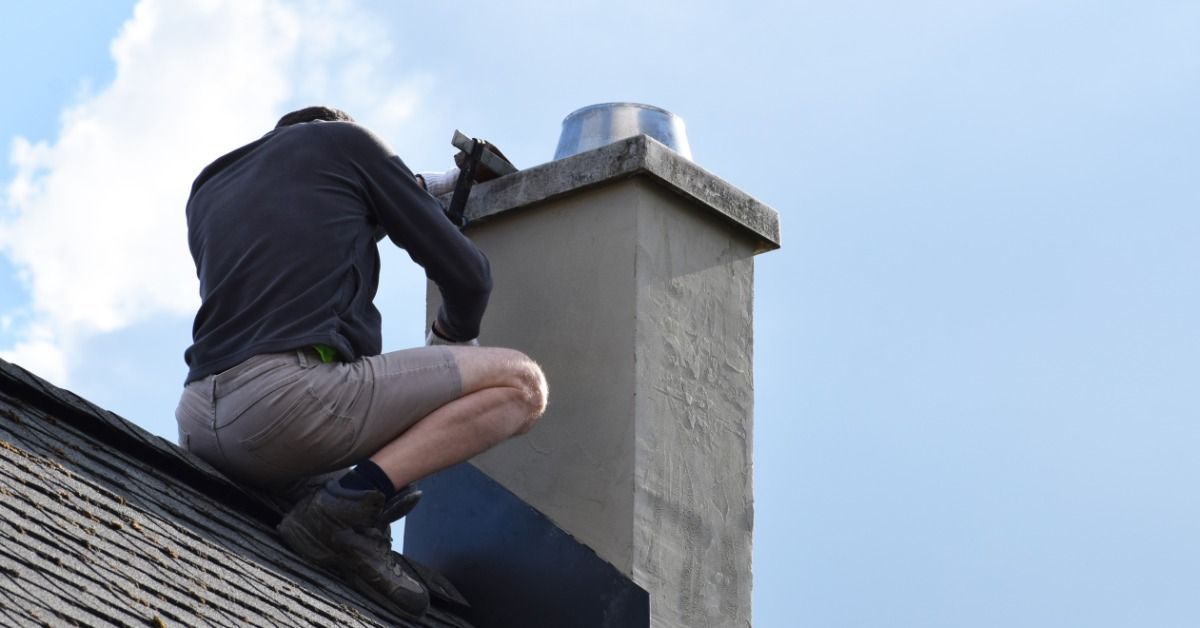
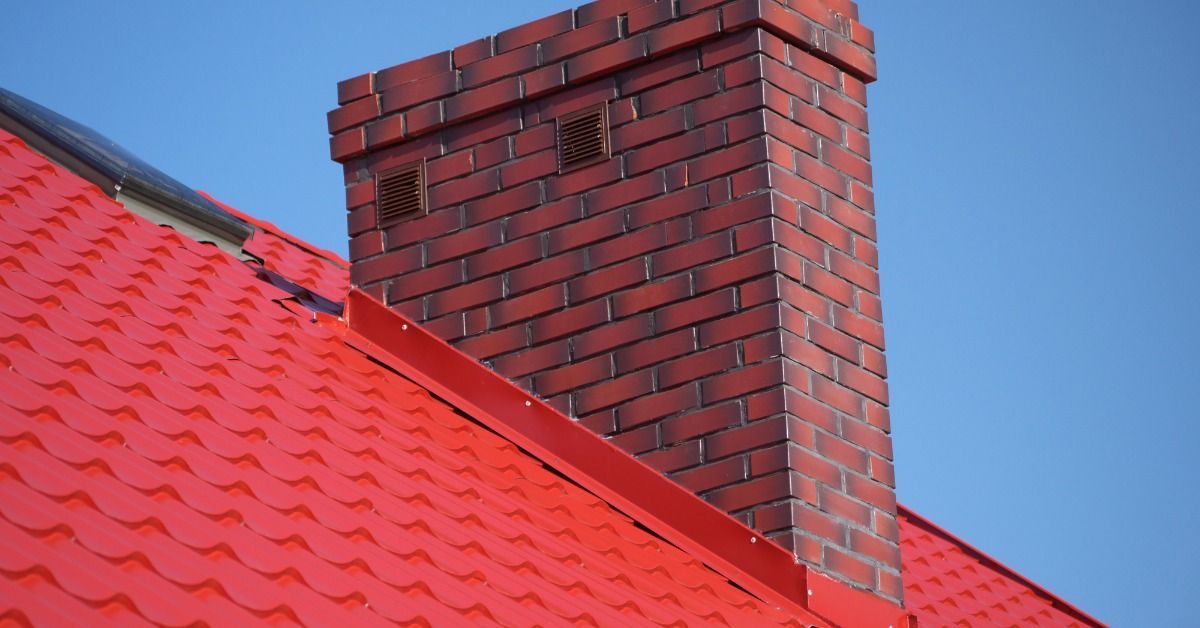
Chimneys interrupt the roof surface and create several joints that need special attention. Roofers typically use step flashing along the sides and apron flashing near the lower edge. Counterflashing helps cover the upper edges of those pieces where they meet the chimney masonry.
The upper side of a chimney needs careful detailing because runoff approaches it directly. A properly designed flashing arrangement redirects that water around the structure. If sealant cracks or metal separates from the masonry, water can enter despite sound shingles.
How Flashing Works Around Roof Valleys
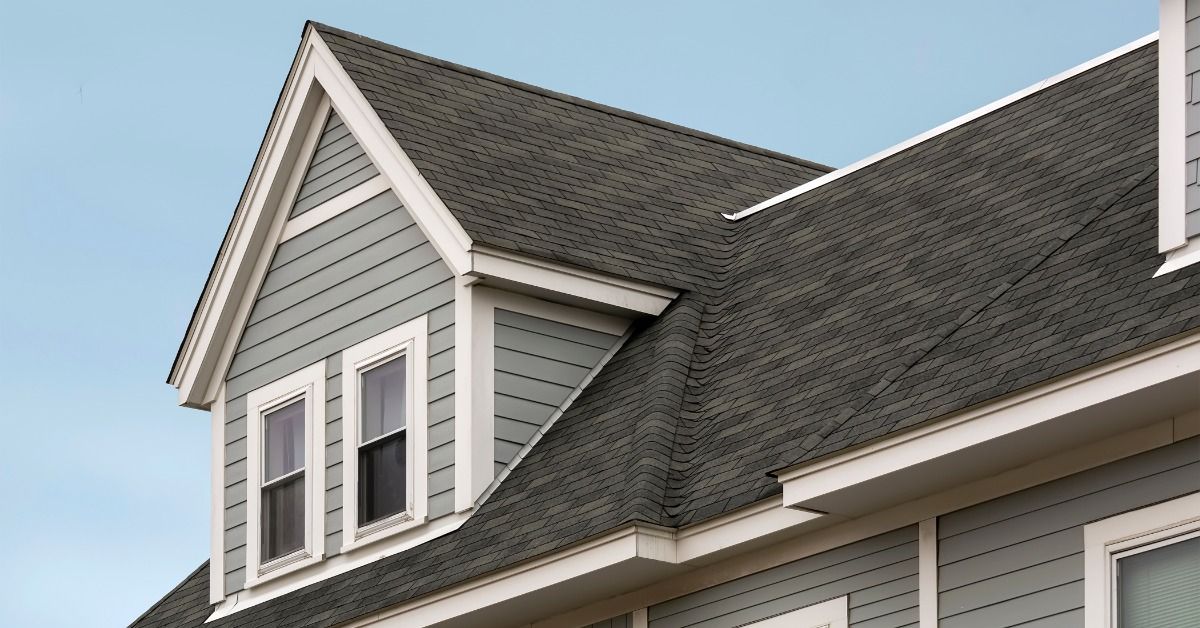
A valley forms where two roof slopes meet. Rainwater concentrates along this channel, making proper drainage important. Depending on the roof design, contractors may use exposed metal valley flashing or a compatible concealed valley system.
Valley materials must overlap correctly and remain free of obstructions. Leaves can trap moisture and slow drainage, after storms. When a valley develops damage, water may reach the underlying roof deck and weaken the surrounding materials.
Protecting Skylights and Vent Pipes
Skylights introduce raised openings that require flashing suited to their design. Many skylight systems use manufacturer-specified flashing kits that integrate with surrounding shingles. Contractors must follow the appropriate installation sequence so water flows over each layer instead of behind it.
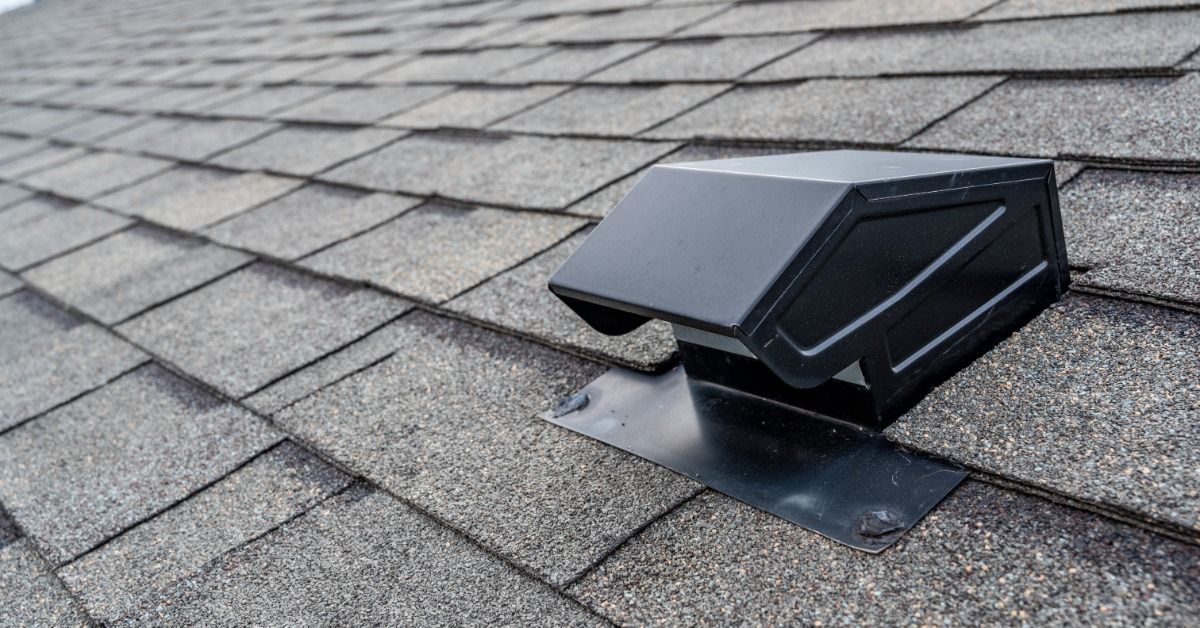
Plumbing vent pipes pass through the roof and need weatherproof connections. Roofers install pipe boots with flexible collars around these penetrations. As collars age, they can crack or pull away from the pipe, creating a direct opening for rainwater.
Why Step Flashing Matters Along Walls
Where a sloped roof meets a vertical wall, step flashing helps manage runoff at the intersection. Contractors weave individual flashing pieces into successive shingle courses so each section overlaps the next. This arrangement allows water to travel downward without entering the joint.
A continuous bead of caulk cannot replace properly installed step flashing. Sealants deteriorate with weather exposure and building movement. Well-detailed metal pieces provide the primary water shedding pathway, while compatible sealants serve limited supporting purposes where specified.
Signs Your Roof Flashing May Be Failing
A water stain near a chimney or upper wall can indicate trouble with nearby flashing. Peeling paint and damp attic insulation may also suggest moisture intrusion. However, these symptoms do not identify the exact source because water can travel through concealed spaces.
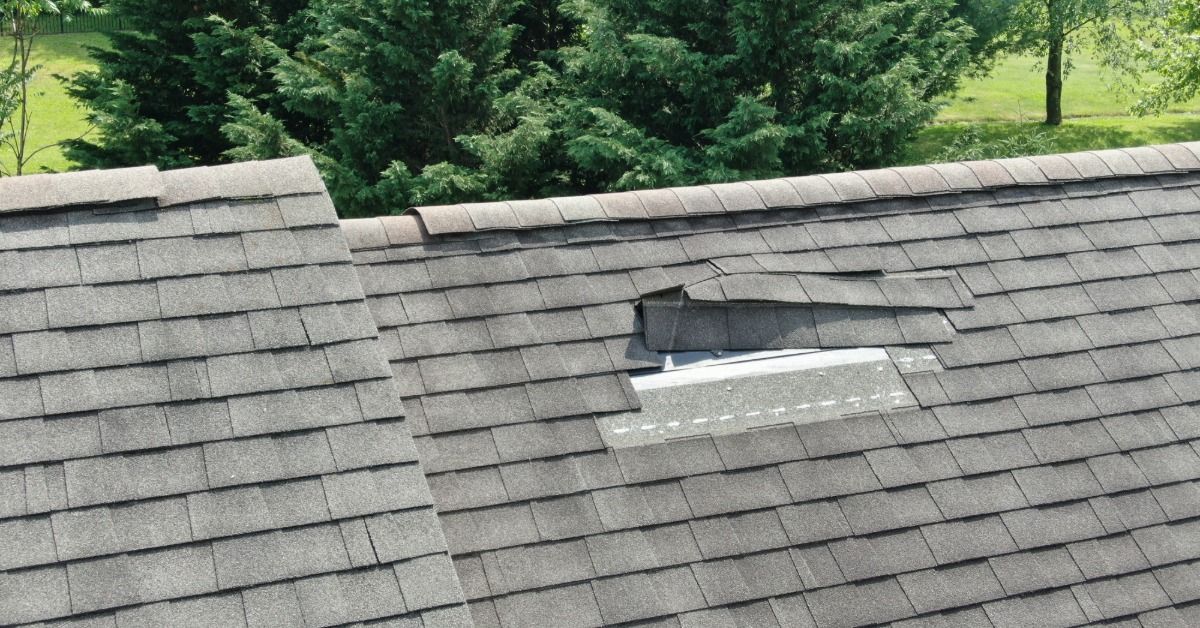
Outside, visible rust or bent metal may warrant closer attention. Missing flashing pieces and lifted shingle edges can expose vulnerable joints. Homeowners should observe these conditions from the ground rather than climbing onto a steep or wet roof.
What Causes Flashing Damage?
Flashing experiences repeated temperature changes throughout the year. Metal expands and contracts as conditions shift, which can stress fasteners or connections over time. Strong winds can also loosen flashing edges when contractors fail to secure them properly during installation.
Improper repairs create another concern. Applying roofing cement over a poorly assembled joint may temporarily hide the opening without correcting its cause. Incompatible metals can also contribute to corrosion when moisture connects them. A qualified roofer should identify the underlying problem before recommending repairs.
Why Installation Details Make a Difference
Flashing performance depends heavily on placement and overlap. Every piece must direct water onto the next protective surface rather than underneath it. Fasteners also need appropriate positioning so they do not create unnecessary leak paths.
Roofers must account for the surrounding materials and manufacturer instructions. For example, a skylight flashing kit designed for one roofing configuration may not suit another. Contractors should inspect existing transitions during roof replacement instead of assuming older components remain serviceable.
When Should You Schedule a Flashing Inspection?
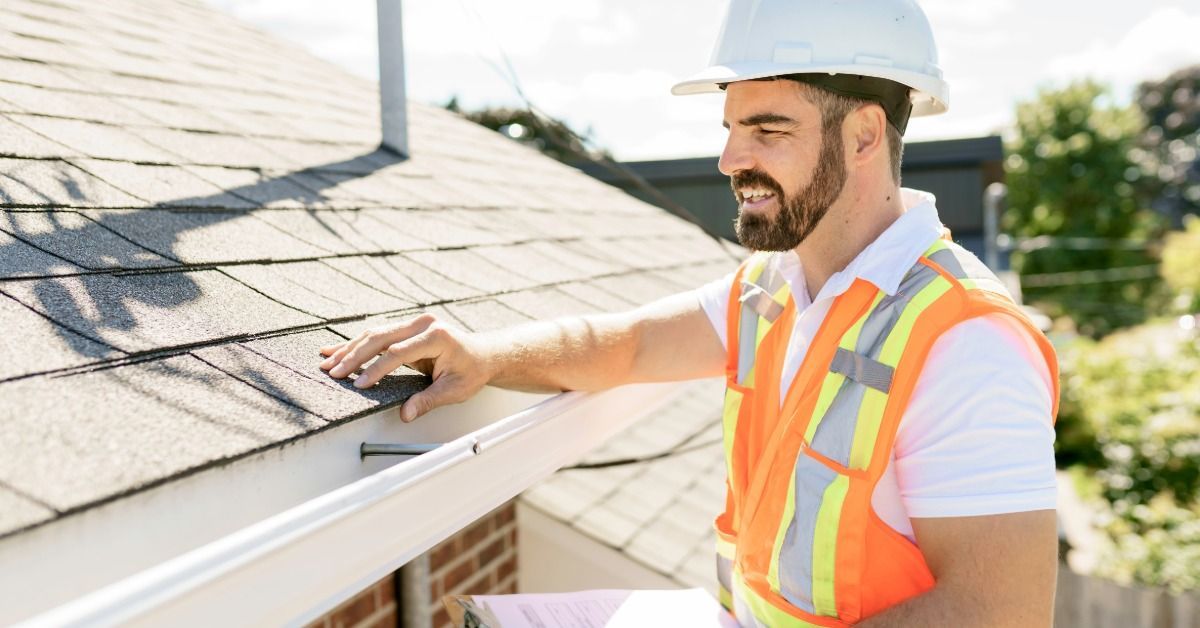
Consider requesting an inspection when you notice ceiling discoloration or unexplained attic moisture. An assessment makes sense after severe weather if debris strikes the roof or visible materials shift. Early evaluation can help limit damage to decking and interior finishes.
Regular roof inspections provide an opportunity to check flashing before leaks develop. A roofing professional can examine chimney connections and penetration seals while evaluating the surrounding shingles. The appropriate repair depends on the condition of the flashing and the materials beneath it.
Can Roofers Repair Damaged Flashing?
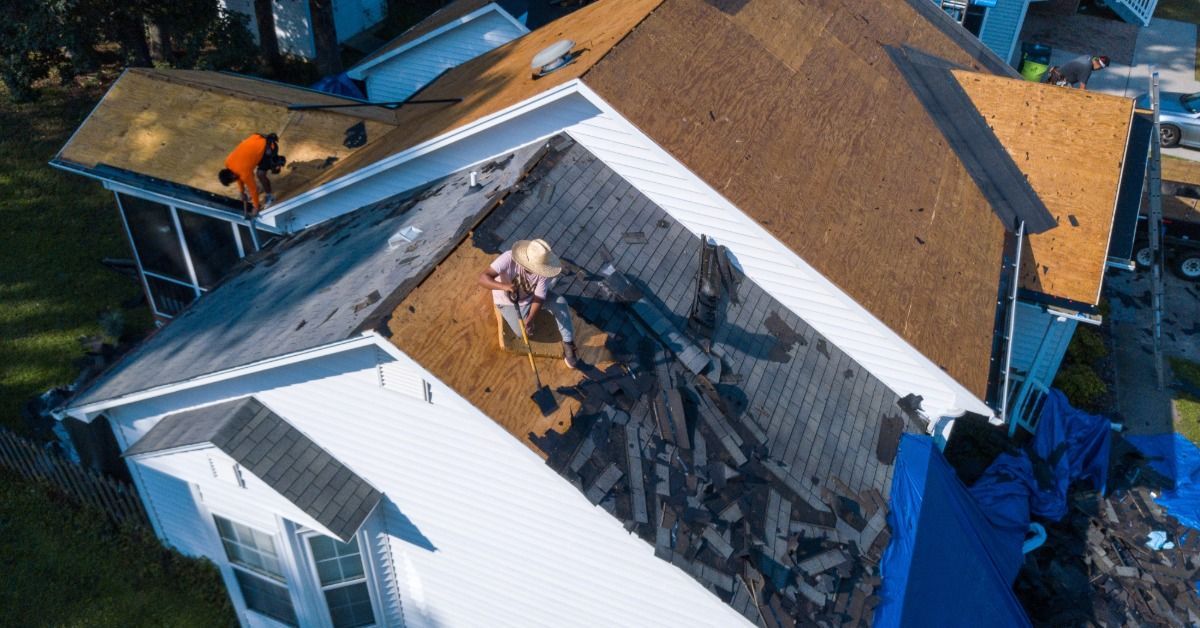
Some flashing problems involve a localized section that a roofer can replace without rebuilding the roof. Other situations require removing nearby shingles to restore the correct layering. If moisture has damaged the roof deck, repairs may extend beyond the visible metal.
The goal should be a durable water shedding connection rather than a quick surface patch. A professional evaluation helps determine whether targeted repairs or broader roofing work will provide reliable protection.
Protect Your Home With Prusak Roofing
Knowing how roof flashing protects your home from leaks makes it easier to appreciate the details behind a dependable roof. Proper flashing helps keep moisture away from vulnerable joints and supports the performance of surrounding roofing materials. Prusak Roofing provides professional residential and commercial roofing in Chicagoland, including Bridgeview and surrounding suburbs. Our experienced team can assess roofing concerns and recommend repairs or replacement work. Contact Prusak Roofing to request a free estimate and discuss your home's roofing needs.